
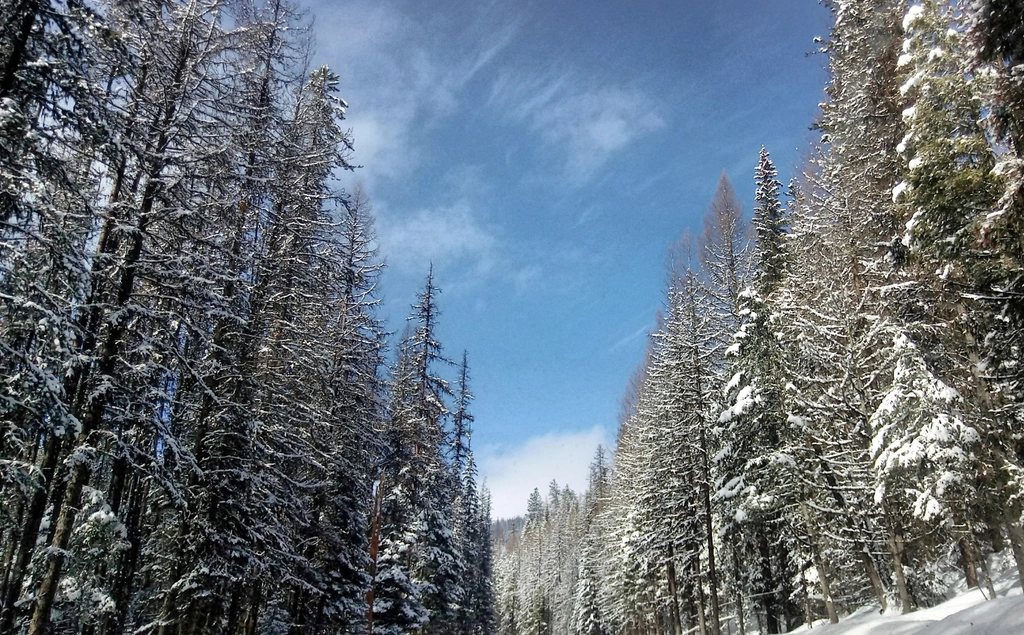
If you can walk, you can snowshoe. That sentence gets repeated so often that it sounds like a slogan, but it is also true, and it is the reason we send nearly every winter-curious friend toward snowshoes before anything else. There is no technique to unlock, no lift ticket, no waxing table, and no fall that hurts more than sitting down in powder. What snowshoes give you is access: the summer trail that becomes a wall of knee-deep snow in January turns back into a trail the moment you strap a pair on. This guide covers how they work, what to look for when you rent or buy, how to plan a first outing, and the few things that genuinely go wrong.
Why the trail becomes yours again
Fresh snow has very little strength. A boot concentrates your whole weight on roughly 250 square centimetres, and the snow simply gives way, which is why post-holing to the thigh is exhausting within a hundred metres. A modern snowshoe spreads the same weight over 500 to 700 square centimetres per foot, and the crust of the snowpack is usually strong enough to hold that. You still sink a little, typically 5 to 15 centimetres, but the effort becomes a normal walk with a slightly wider stance.
The second thing snowshoes give you is grip. Under the ball of the foot sits a steel crampon, and most designs add serrated rails along the edges. On a packed, icy trail those teeth bite where a hiking boot would skate. That is why snowshoes remain useful even when the snow is not deep: they turn a slippery, refrozen track into a stable one.
Choosing a pair that fits you and the snow
Snowshoes are sized by load, not by shoe size. A pair rated for 60 to 110 kilograms is the common middle size; check your body weight plus your pack against the rating printed on the deck. If you plan to walk mostly on packed trails, the shorter end of the range is fine and easier to manoeuvre. If you expect deep, unconsolidated snow, go longer or add tail extensions, because flotation matters more than agility there.
Look at three parts. The binding should tighten in one or two motions with gloves on; a system you cannot close with cold fingers will ruin an afternoon. The crampon under the toe should be metal, not moulded plastic. And the pivot, where the binding meets the deck, should let the tail drop freely so the shoe sheds snow with each step. Rental shops carry all of this, and renting for the first two or three outings costs a fraction of buying and tells you what you actually like.
Poles are optional on flat ground and nearly essential on slopes. Use trekking poles with wide snow baskets, set about 5 centimetres longer than your summer length, and shorten them when the climb steepens.
The first three techniques
Walking on the flat needs only one adjustment: widen your stance so the inside edges of the shoes do not clip each other. Most people manage this within a few minutes, usually after one small stumble. Keep your steps a little shorter than normal and let the tails drag.
Climbing is where the heel lift earns its place. Most snowshoes have a small bar that flips up under your heel; on a sustained slope it reduces calf strain and keeps the crampon flat against the snow. Kick the toe of the shoe into the slope on steep sections so the crampon engages, and take the hill straight on rather than side-hilling, because snowshoes have almost no edge for traversing.
Descending feels strange at first because the shoe wants to slide forward. Keep your knees soft, lean slightly back, plant your heel first so the rear teeth catch, and keep the poles in front of you. If you fall, roll onto your side, bring your knees under you, and use the poles crossed as a platform to push up. It is worth practising once on a gentle slope before you need it for real.
Planning a first outing
Pick a trail you already know in summer, ideally a loop of 3 to 6 kilometres with less than 200 metres of climbing. Snowshoeing is slow: a sensible planning speed for beginners is 2 to 3 kilometres per hour on packed trails and closer to 1 kilometre per hour when breaking trail in deep snow. Double the time you would allow for the same walk in July, and remember that in mid-winter at northern latitudes daylight can end before four in the afternoon.
Many nordic centres and parks groom dedicated snowshoe loops in the same season as their ski trails, and some charge a modest day fee to cover grooming and patrol. Where a trail network has separate lanes for skiers and walkers, stay off the set ski tracks; a snowshoe print in a classic track is the fastest way to earn a frown, and it also ruins the track for the next person.
What to carry and what goes wrong
The list below is short on purpose. Snowshoeing rarely needs more than a small daypack, but the items in it are not optional in winter.
- Insulated water bottle or a flask, because plastic bladders and their hoses freeze; a warm drink is also a morale tool.
- A spare insulating layer and a windproof shell that you put on the moment you stop, before you feel cold.
- Spare gloves or mitts in a dry bag; wet gloves are the most common reason a group turns back early.
- Headlamp with fresh batteries, even for a morning outing, because a twisted ankle on snow can turn two hours into six.
- Map and compass or a downloaded offline map; phone batteries lose capacity quickly below freezing, so keep the phone inside a warm pocket.
- Sunglasses and sunscreen on bright days; snow reflects most of the light back at your face.
The failures we see most are predictable. People overdress at the trailhead, sweat through their base layer in the first twenty minutes, and then freeze at the first stop; start slightly cool and adjust. Bindings loosen when the straps ice up, so check them each time you pause. And a surprising number of first-timers try to run or jump on snowshoes because it looks fun in photos; the front of the shoe catches, and the fall is face first. Walk, enjoy the quiet, and save the running for a groomed course with racing snowshoes.
Where it leads
A season of snowshoeing teaches skills that transfer everywhere in winter: reading the snow surface, pacing yourself in cold air, managing layers, and turning back when the light or the weather says so. From there the next step might be a longer route with a map, a summit walk on a clear day, or a first look at cross-country skiing. But plenty of people never move on at all, and there is nothing wrong with that. A forest under a metre of snow, silent except for the crunch of your own steps, is not a stepping stone to something better. It is the thing itself.